Dubbed Wendy’s Crafty Sweatshop years ago, the week or two before Christmas is time to make all the treats to go along with the jars of jam and veggies put up over the summer. This year added caramels to the lineup (recipe and pics soon) that always includes biscotti and chocolate covered popcorn.
I came across this recipe a decade ago through in an email newsletter from Worldwide Recipes. It’s been in the holiday line-up ever since.
A few notes- doubling this recipe makes about 14 gift-sized bags of popcorn, fewer servings if you pack it in tins. I like to mix the white & the chocolate together.

Heavenly Popcorn packed into gift bags.
HEAVENLY POPCORN
- 14-15 cups plain popped corn (remove uncooked kernels)
- 2 cups dry-roasted peanuts
- 1 lb confectionery coating *
- 3 TBS creamy peanut butter
In a large deep roasting pan, combine popcorn and peanuts. In the top of a double-boiler over simmering water, melt coating and peanut butter, stirring occasionally (I did this step in the microwave). Pour over popcorn and stir to coat. (Take off rings or use gloves- this makes a mess). Spread evenly on waxed paper and allow to set for about an hour before bagging.
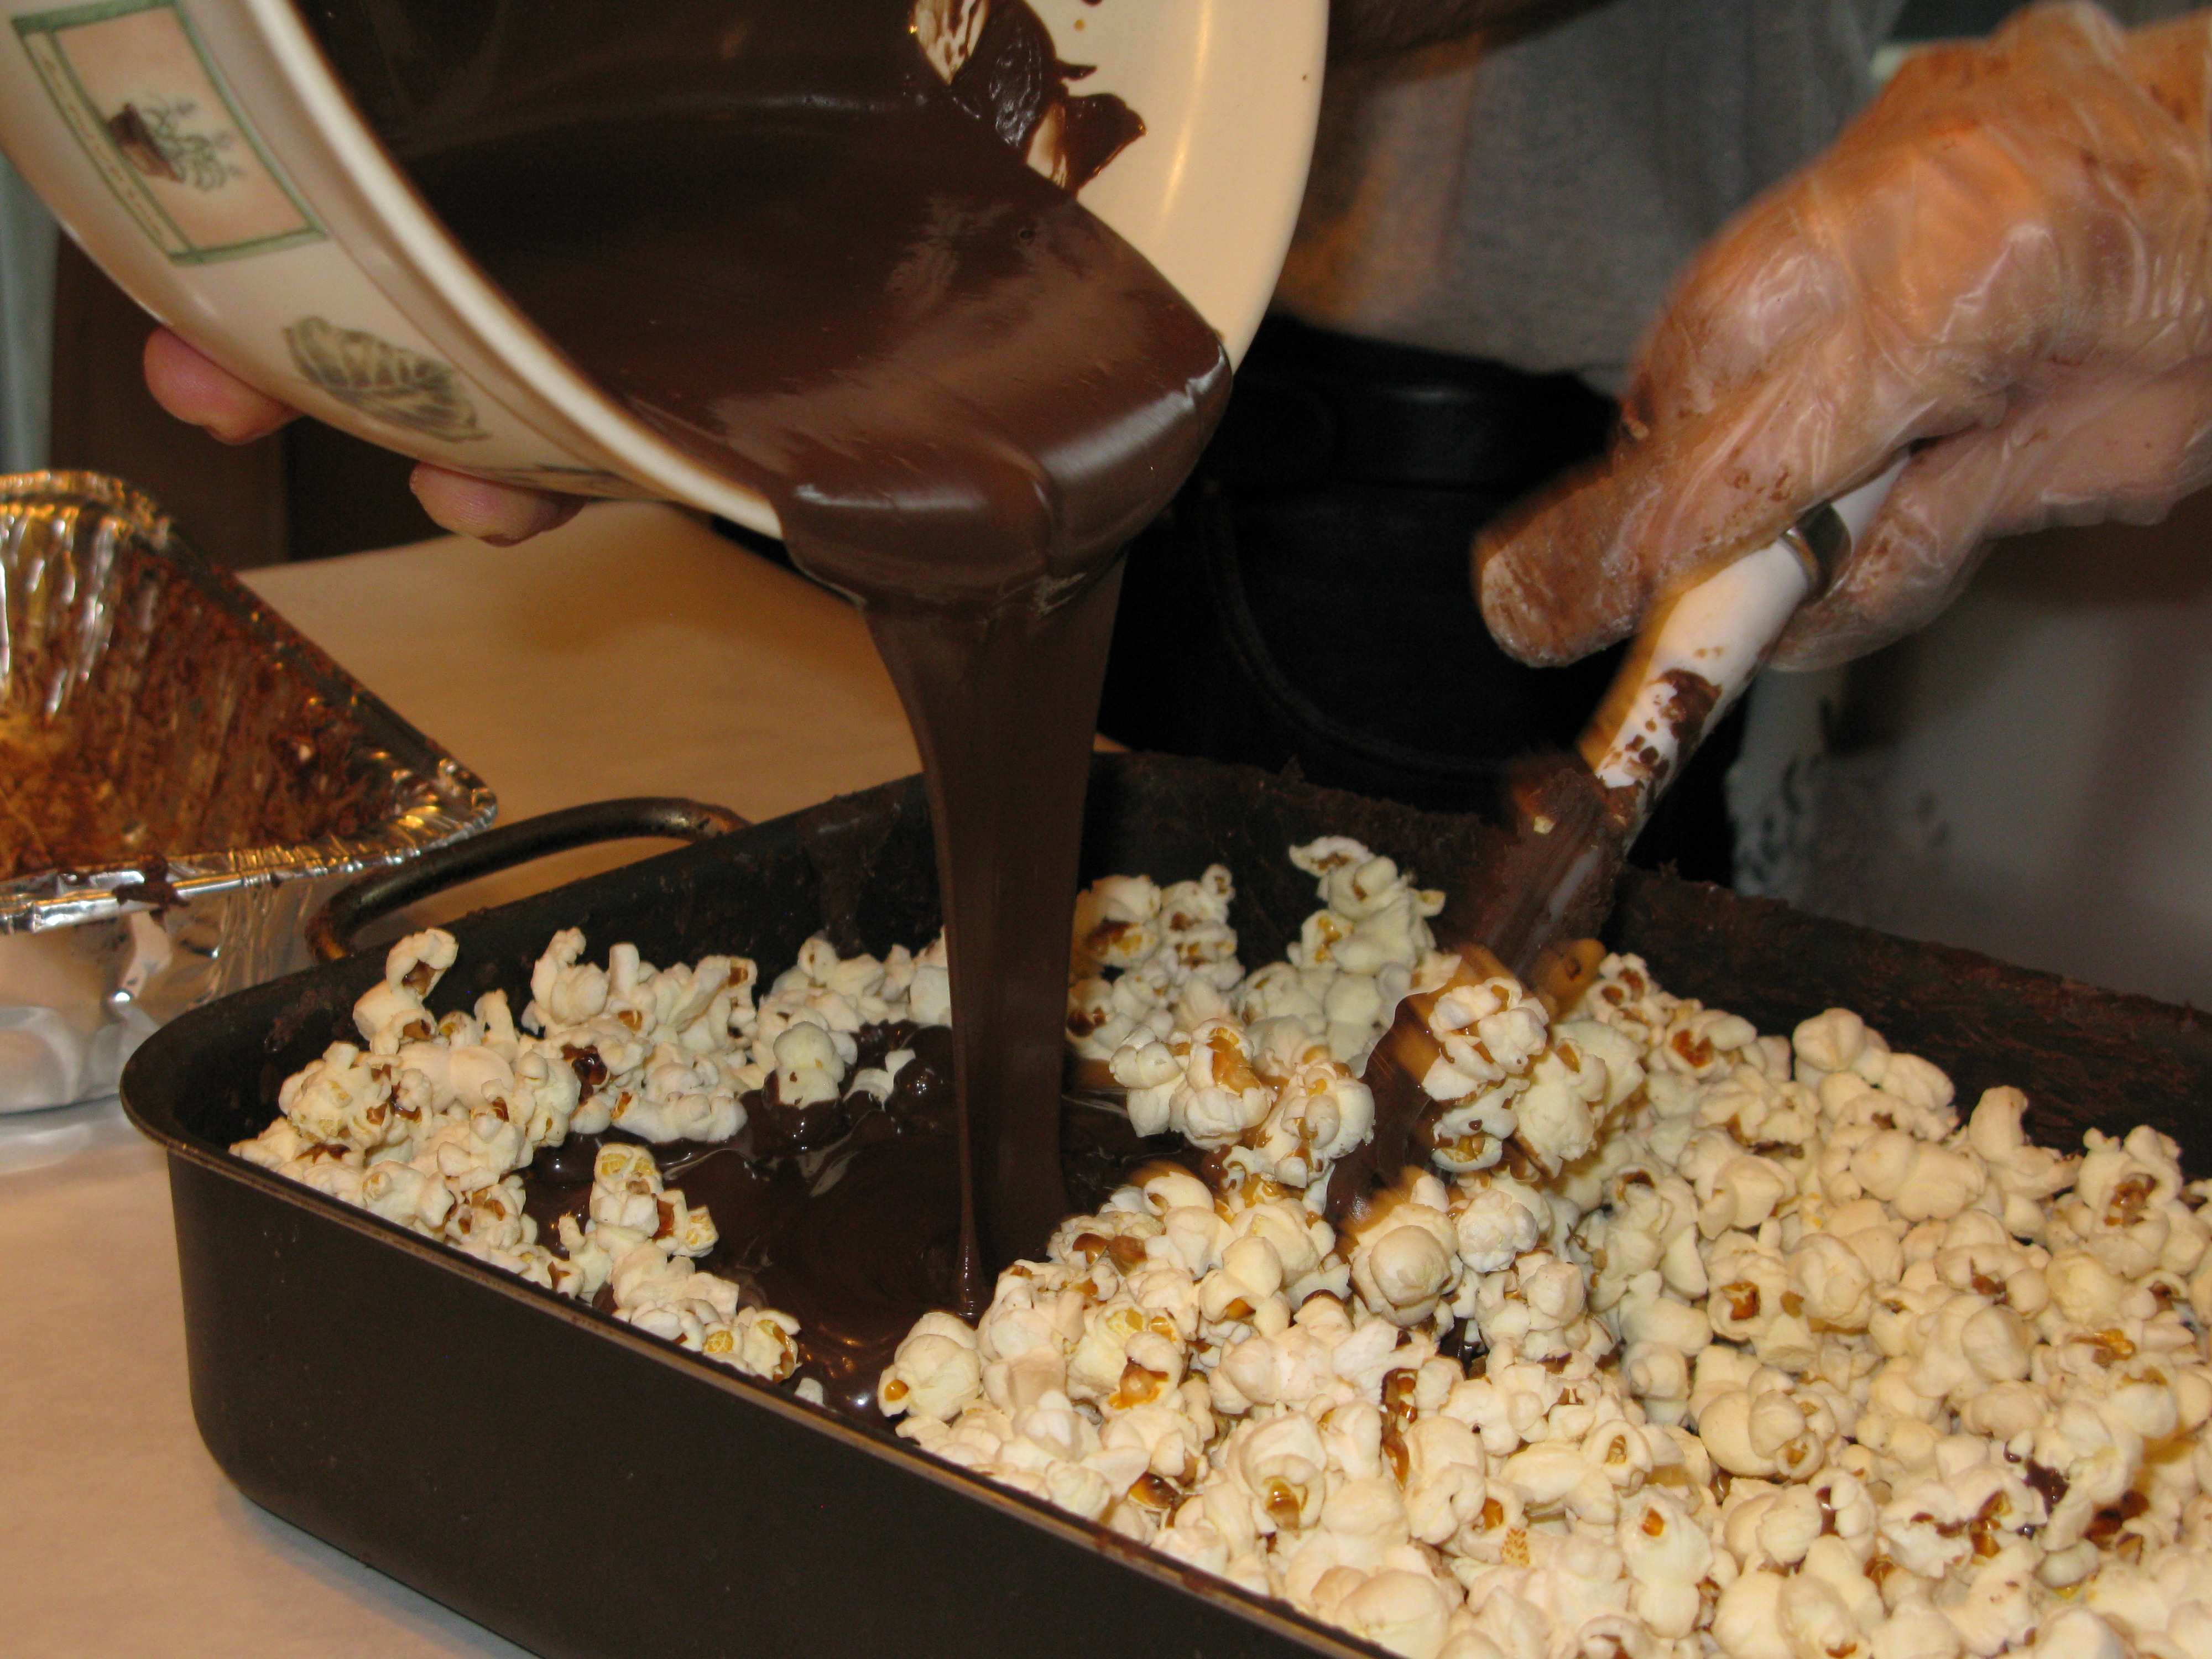
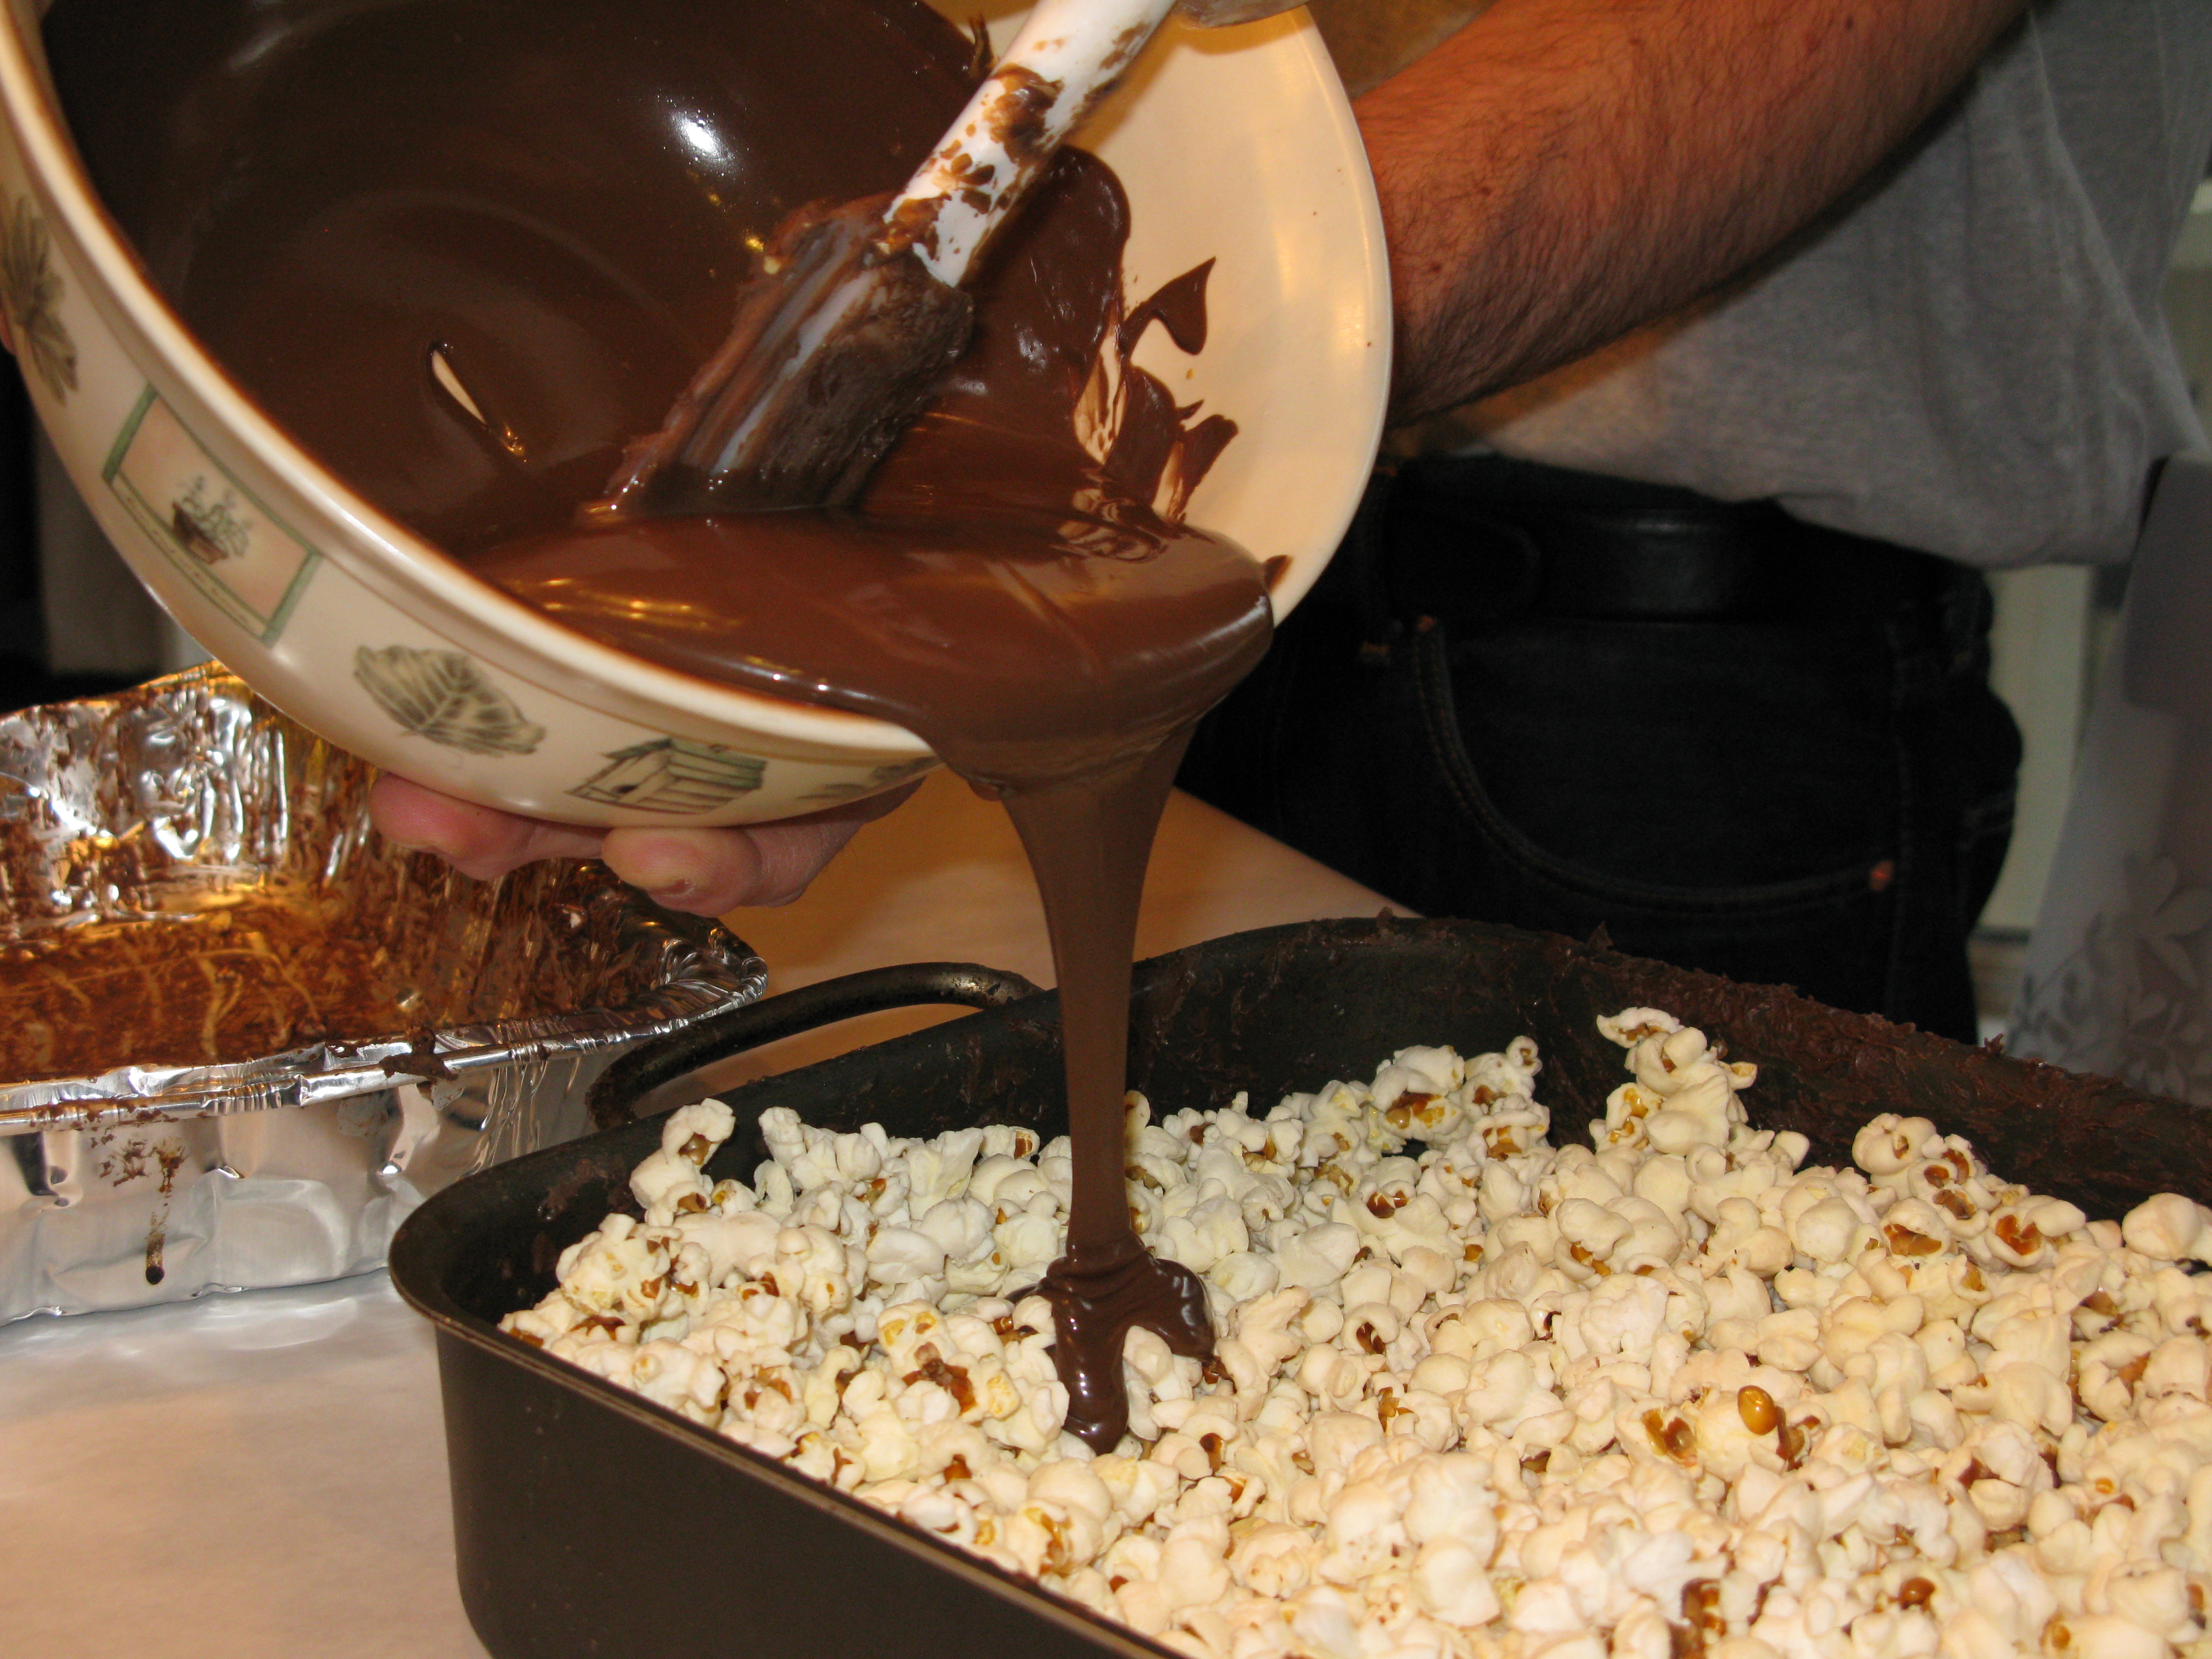
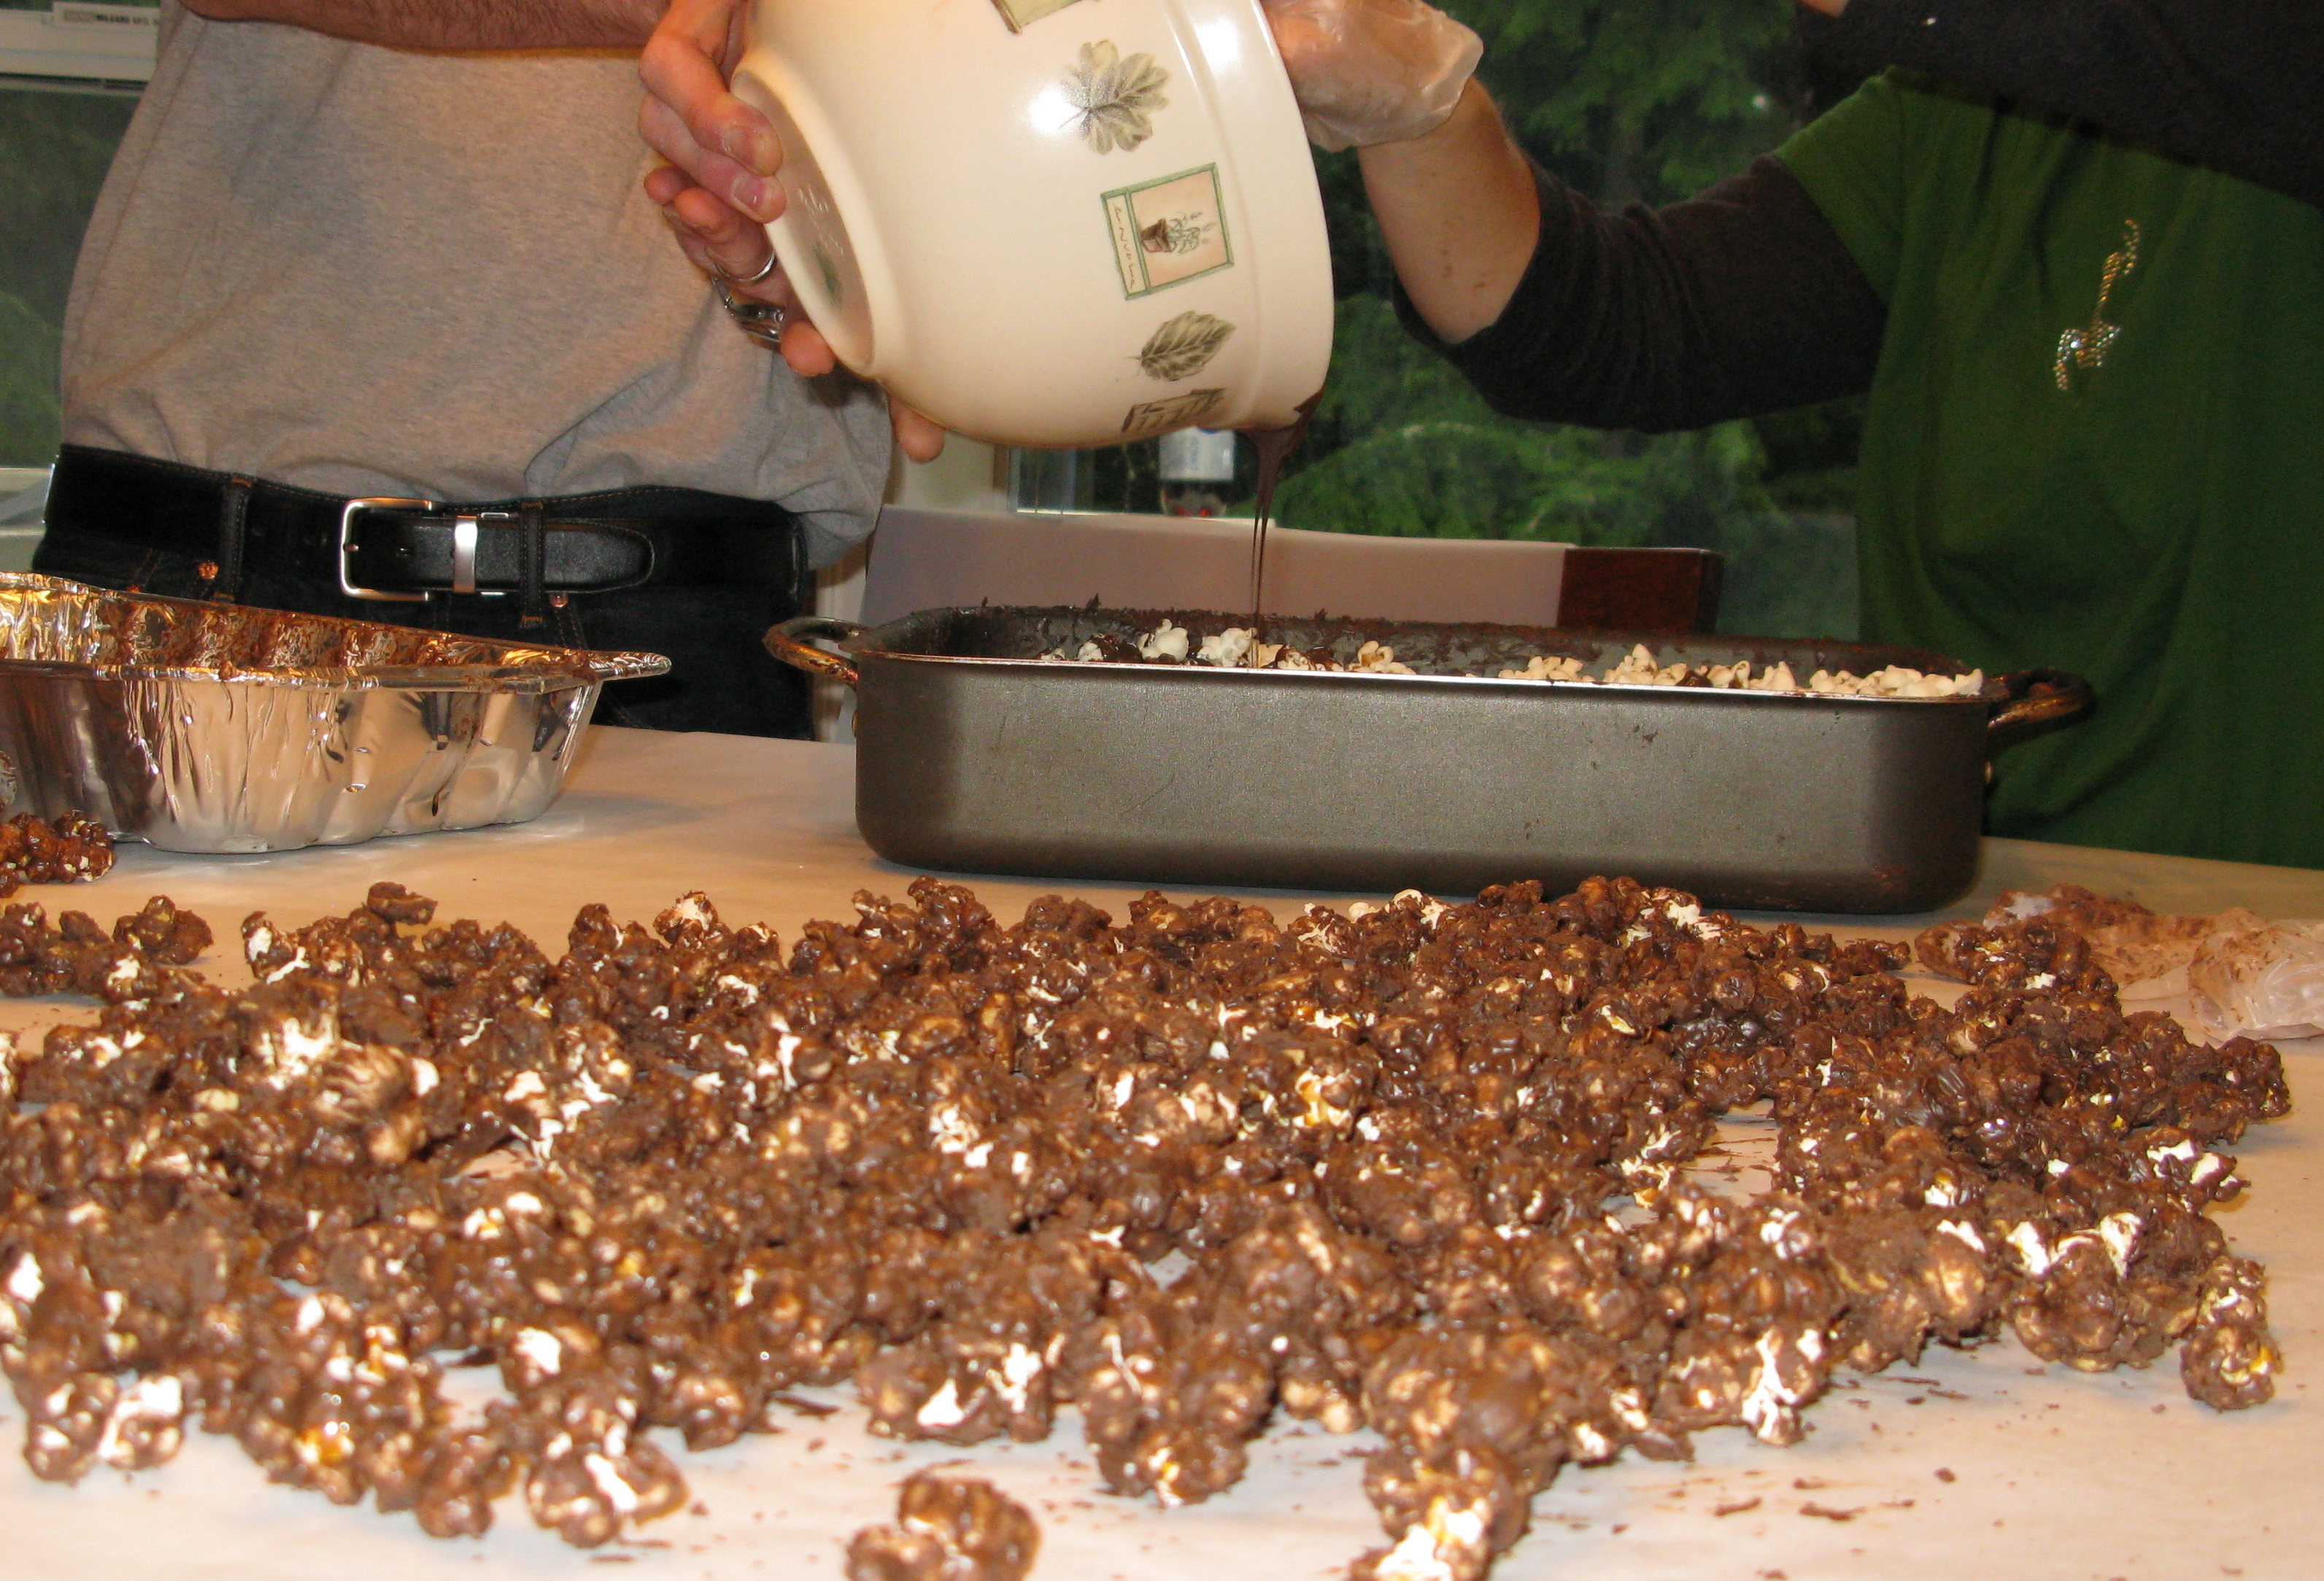
Coat the popcorn, allow to set on waxed or parchment paper.
* Look for confectionery coating (also called bark, almond bark or candy coating) in grocery stores with baking supplies or in stores selling chocolate candy discs for melting and pouring into molds. I would not recommend using a regular chocolate candy bar. I don’t think it will set for you correctly when it hardens.


